Introduction
It didn’t take long after setting up my first Meshtastic node before I decided it was time for some upgrades. The main motivation? Poor battery life and a solar panel that wasn’t quite pulling its weight.
The Upgrades
-
Solar Panel
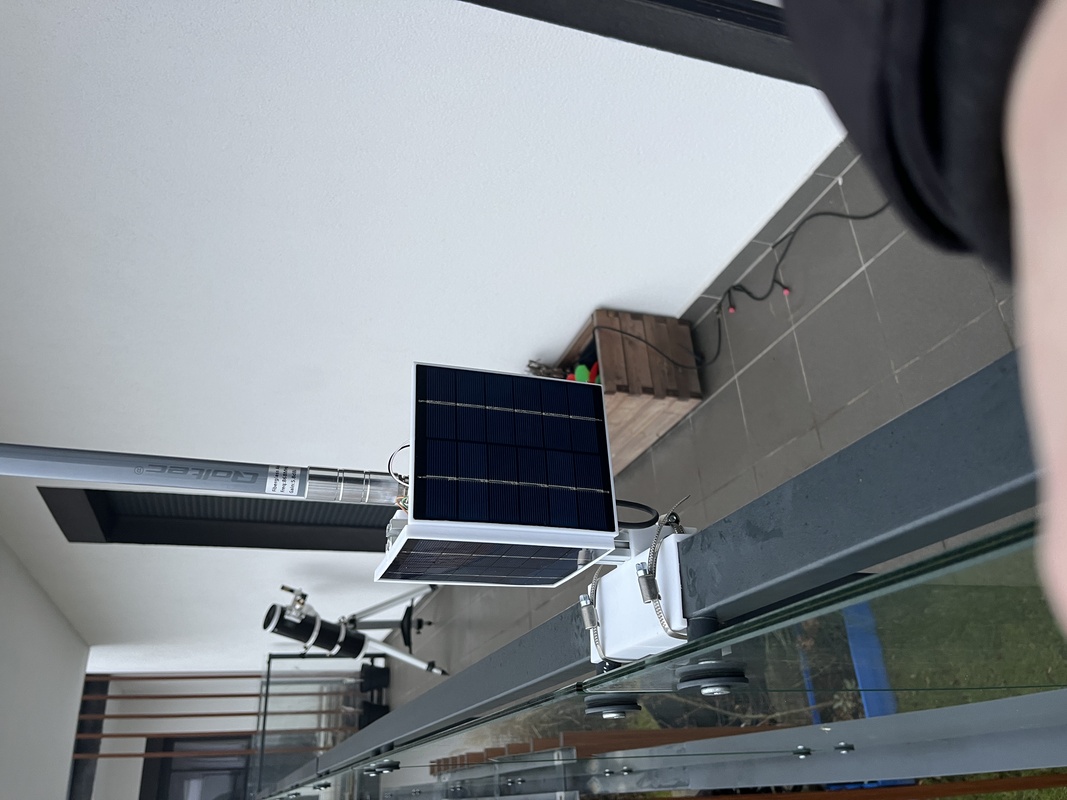
I added a second identical solar panel mounted at a 90-degree angle to the original one. The idea was to increase solar charging time throughout the day. Unfortunately, the balcony where the node sits doesn’t face south, so it’s far from an ideal setup. Still, this change helps. -
Battery
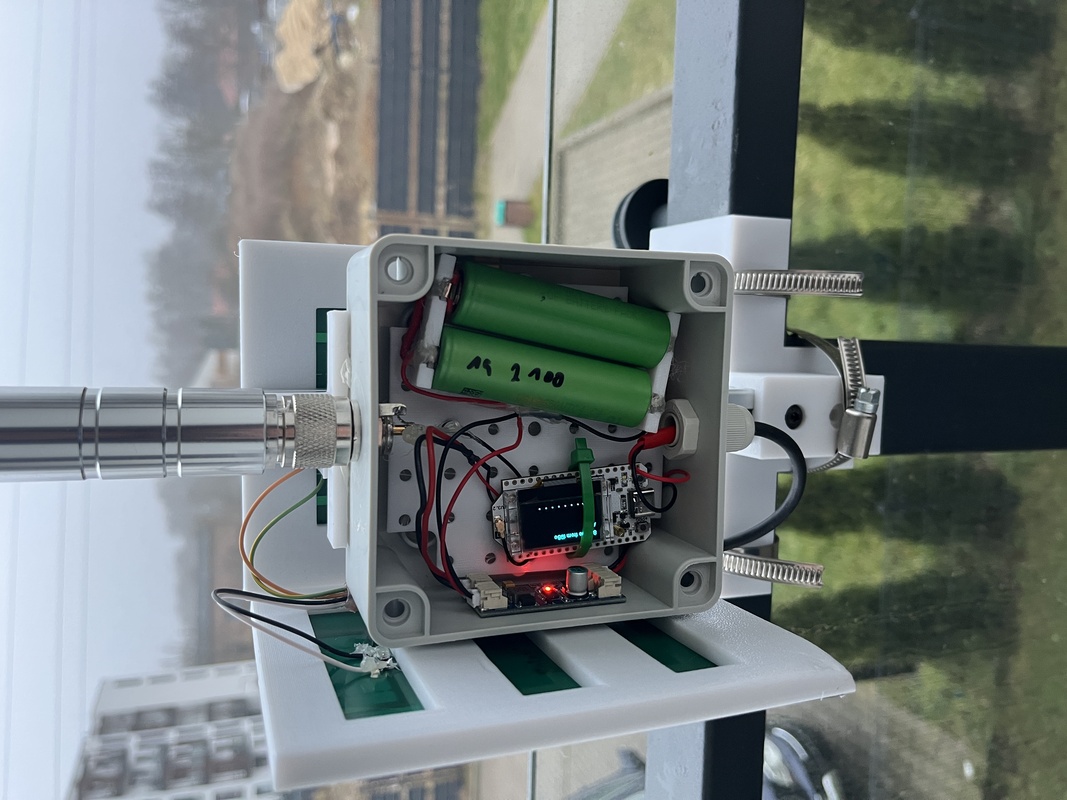
I switched to two 18650 batteries in a 2P configuration, giving me roughly 5000mAh of capacity. A significant boost compared to the single-cell setup I had before.
Results
With the new solar panel and battery configuration, my node now runs for about two and half day on a full charge. That’s a massive improvement over the 13 hours I was getting with just one panel and one battery. It’s not quite a self-sustaining, 24/7 solution yet, but it’s a solid step forward.
The board I’m using is a Haltek V3, which is based on the ESP32 — not exactly known for its power efficiency. However, according to some Reddit threads, this board does include a built-in battery charging controller, so it can be connected directly to a solar panel without needing any extra circuitry. Handy!
Upgrades – Part Two
- Electronics
I removed the MPPT controller and wired the panel directly to the board. That’s when things went a bit sideways — I accidentally reversed the polarity and fried the board. After a bit of troubleshooting and a few measurements, I found that only the 3.3V voltage regulator was damaged. Swapping it out brought the board back to life. Once I wired everything correctly, it all worked smoothly.
The test started around 8:30 AM in 1°C weather. By 5:00 PM, the battery was still at 100%. The full test ran for about 70 hours, after which the battery finally dropped low enough to shut the node down.
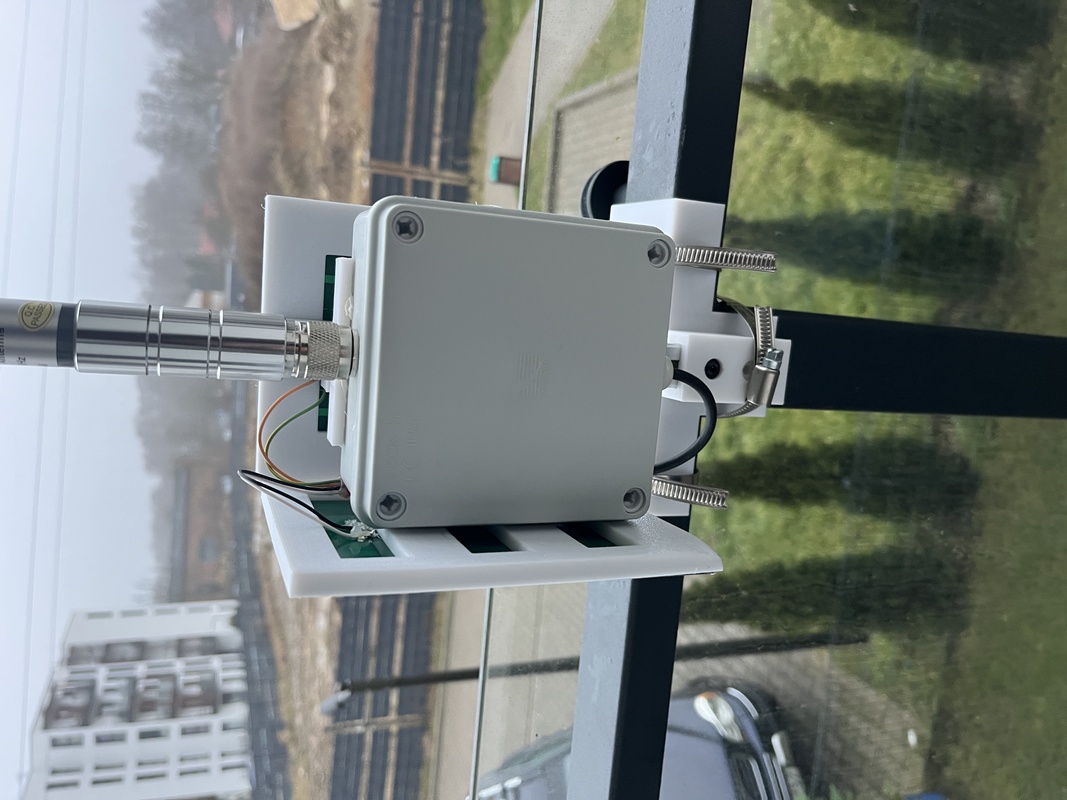
Photos