After experimenting with custom ergonomic keyboards for a while, I wanted to take another step toward a fully personalized desktop setup.
One of my early projects included a small trackball module embedded into my first keyboard. It worked but it was never perfect. The steel ball felt a bit too heavy during extended use.
Recently, I decided to rebuild it properly, this time based on the open-source Ploopy Nano design.
From 34 mm to 38.1 mm
The original trackball module I built used a 34 mm ball — mostly because it was easy to source and fit into the keyboard shell.
However, the Ploopy Nano design uses a 38.1 mm (1.5 inch) ball, which makes a big difference in precision and smoothness.
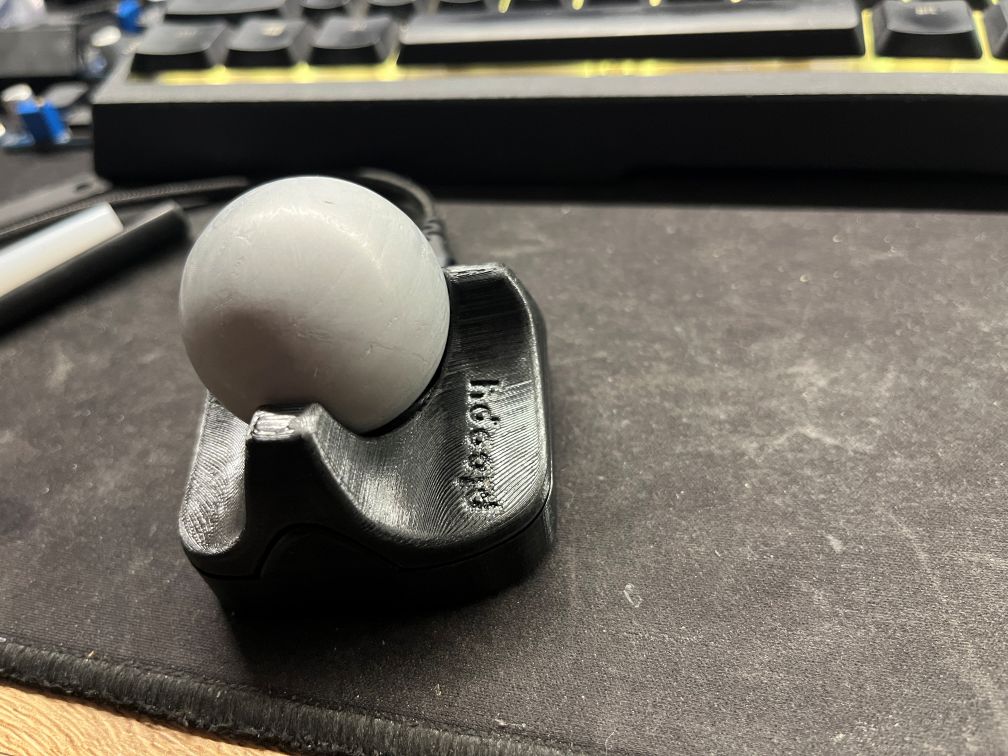
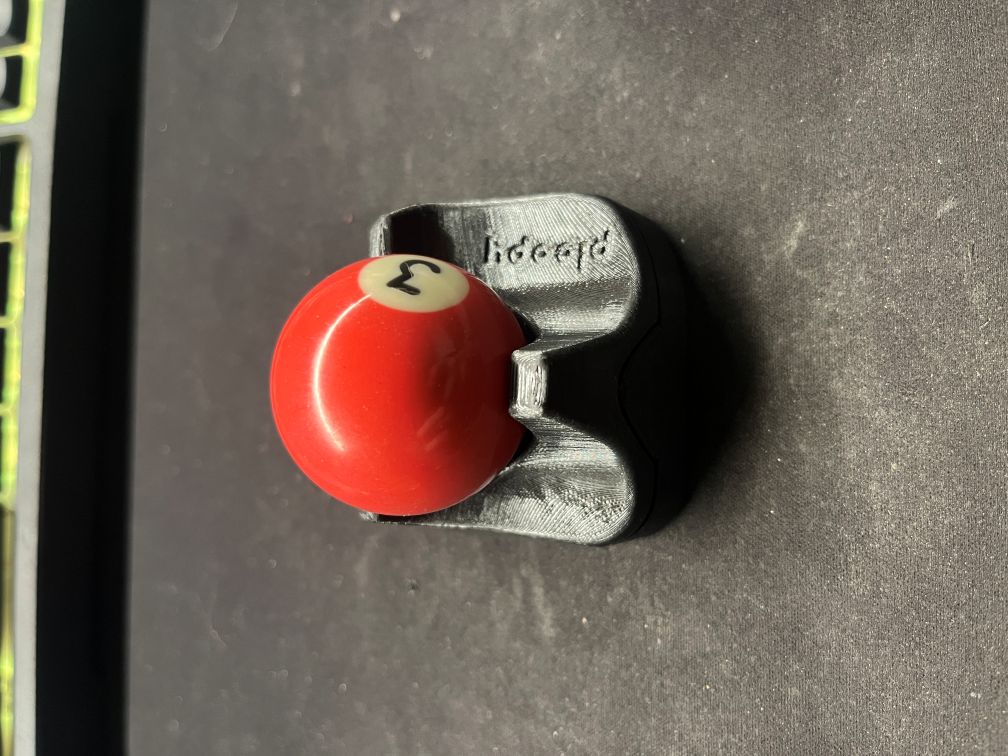
At first, I used a 3D-printed ball, but it turned out to be too light, and the small surface imperfections from FDM printing caused the cursor to jitter. After some research, I found that mini billiard balls are the perfect fit — durable, perfectly spherical, and with just the right weight. The sensor now tracks much more smoothly and accurately.
Using parts from my first keyboard
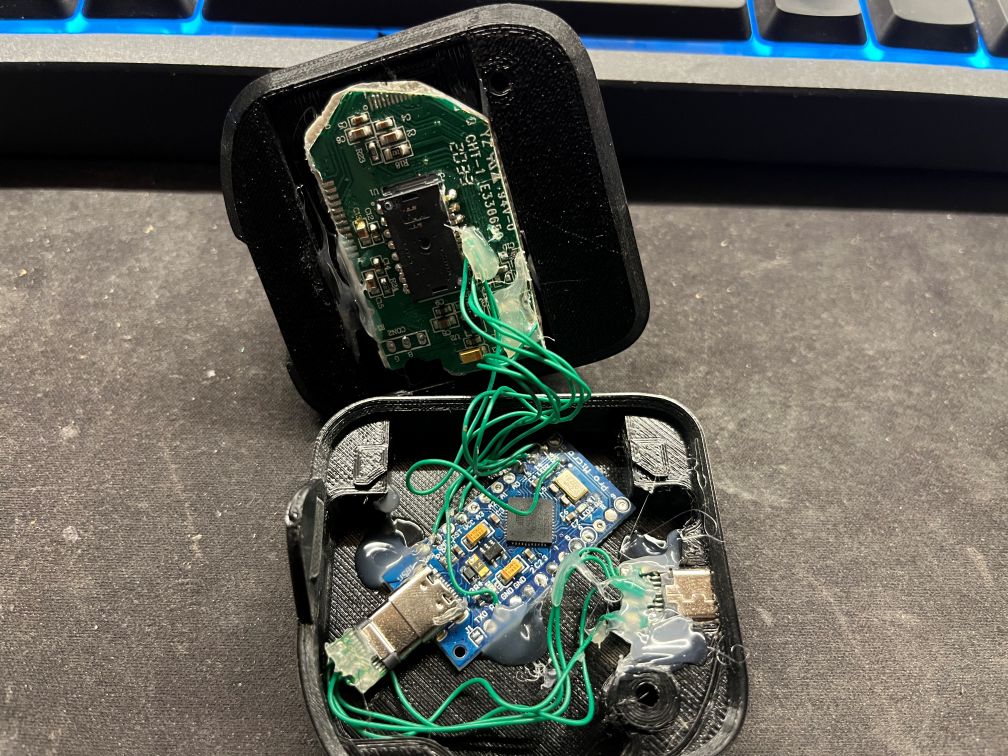
The new build still reuses components from my first ergonomic keyboard — specifically, the optical sensor and part of the wiring harness.
It’s a nice continuity between projects: the old parts live on, but in a better configuration.
I didn’t add any physical buttons to the Ploopy itself — the design remains buttonless and minimal, which I actually prefer. Instead, I decided to modify how my second keyboard behaves.
Integrating mouse buttons into the keyboard
Since I already have a second ergo keyboard with unused keys, I changed its firmware to map a couple of them as left and right mouse buttons.
This way, I can control the pointer with the Ploopy trackball while clicking using the keyboard — no extra hardware needed.
It feels surprisingly natural: my thumbs stay on place, and the cursor movement happens under my index finger on the trackball.
The result
The rebuild required only a few small 3D model adjustments to fit the salvaged sensor and to fine-tune the ball clearance.
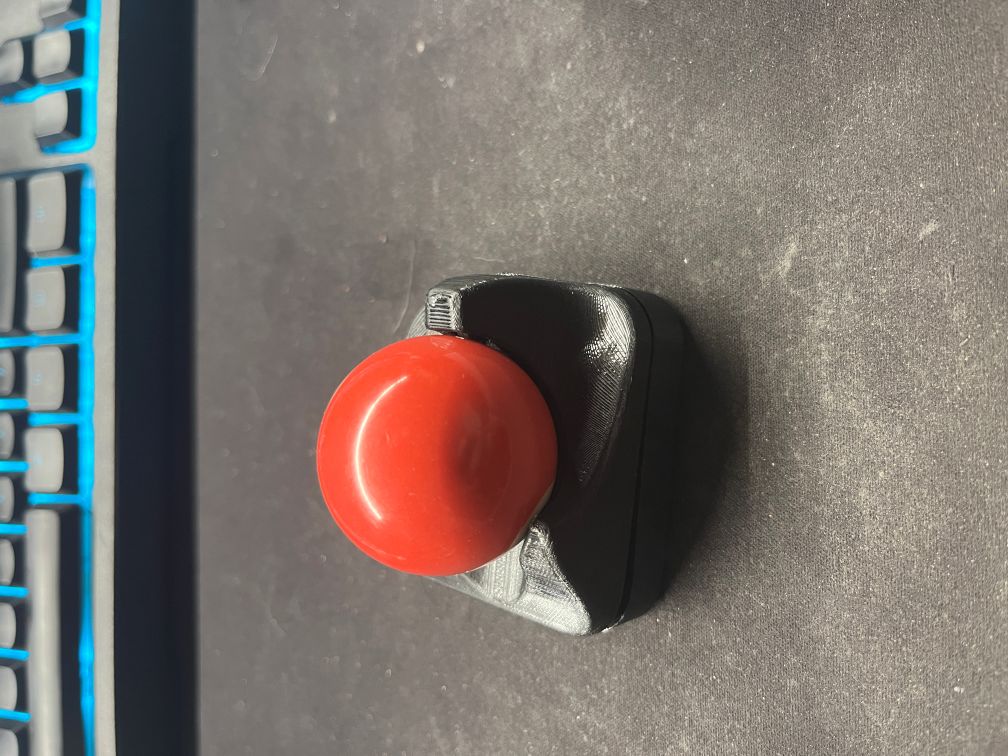
The end result is a clean, compact, and efficient setup — a blend of open-source design, recycled parts, and custom firmware tweaks.
It’s not flashy, but it feels like the perfect evolution of my earlier attempts.
Sometimes, the best DIY projects are not about inventing something new — but about refining something that already works.
Images